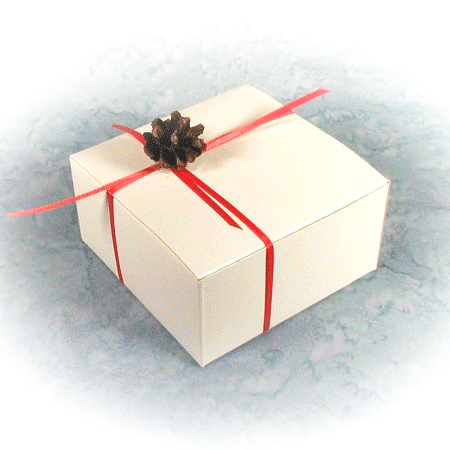
Pine Cone Red Ribbon Decorated Box
 You will need a hot glue gun, scissors and maybe a pair of sharp nipper pliers.
The only tools needed for this box are a sharp pair of scissors, crafts nippers and a hot glue gun.
This design has a big intact due to the contrast between the white box and the red ribbon and dark cone.
Estimate the amount of ribbon you will need by wrapping a string around the box twice and allow some extra ribbon for the rays of the bow.
For an alternate version place the ribbons at 45 degree angles to the wrapping ribbon.
Trim the ends of the ribbon on an angle using sharp scissors.
Pick pine cones of a size which will not dominate the top of the box.
Cones of a 1 to 1.5 inch diameter are just about right. If you pick them your self make sure the cones are clean and dry.
Get Started
- Check the instructions for the ribbon and rose if you are unsure
about tying the ribbon. - You can align the ribbons in the center or off center.
- When you bring the ribbons back to the top tie a double overhand knot.
- Trim the ribbons to about 1/4 of an inch.
- For the rays of the bow use 2 pieces of ribbon several 5 or 6 inches long.
- Use the hot glue gun to secure the first piece of ribbon to the top of the box .
- Glue the second piece of ribbon to the top of the first piece.
- Use the glue to affix the cone or cones to the top of the box.
Tip … When you are gluing the rays of the bow to the box let them lie just beside the knot from the wrapping ribbon. This way you will be able to glue the flat ribbons directly to the box in a few places.
Also remember that if you tie the top intersection ribbons together your guest will have a more difficult time opening the box.
Take care not to knock the pine cones off when you move the boxes to the party location.
Pack them on layer high in cardboard soft drink flats purloined from the grocery store.
Return to the Decorated Boxes
