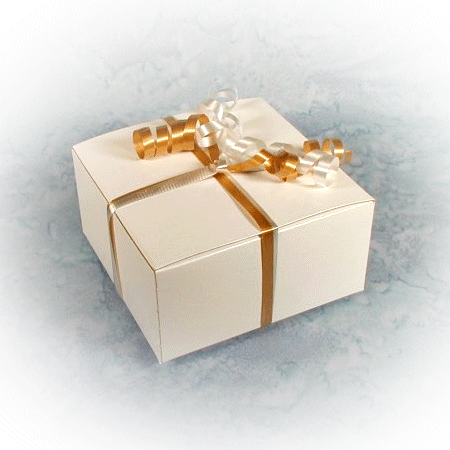
Gold and White Ribbons Decorated Box
 You should only need a pair of scissors for this one.
The idea is to combine 2 colors to create a theme, with a curl on top for fun!
Use a string to measure the box for the ribbon and add and extra 8 to 12 inches for the curl.
Only cut enough ribbon for one box to begin. Once you are sure of the length you can cut the rest.
Next you will need to decide what color ribbon to get, or in this case ribbons.
This is a special type of ribbon called curling ribbon, because when you draw it across the blade of your scissors it curls.
Take one of your wedding colors and match it with another complementing color.
Tip * Practice curling the ribbon before you start.
If you need hands on instruction ask at the craft store.
Surly someone there will be able to help you out.
Get Started
- Start with a clear work area with 2 sides, one for each worker.
- Lay both of the ribbons on the box, centered, and one over the other.
- Grasp both ribbons and the box and turn the whole thing over.
- Wrap the ribbons 1/4 of a turn around each other.
- One person hold the ribbons in place and the other person moves the bottom ribbon to the top spot .
- Turn the box back over and you should now be able to see one color on one wrap and the other color on the other wrap.
- Hold both ribbons together and tie a double overhand knot.
- Open your scissors and wrap one side of the ribbon over the upturned blade and pull the ribbon across to form the curl.
- Once you are satisfied that the box looks find and the ribbon length is correct you should cut the rest of the ribbons and wrap the remaining boxes.
This is one of those jobs which will take 2 or more people to go smoothly.
Its a bit of a trick to switch the ribbon order when you twist the strands on the bottom of the box and if you are working across from each other on a narrow surface like a card table you will have an easier time of it.
These boxes are not too much trouble to transport. Just try to keep from crushing the curls.
Return to the Decorated Boxes
