Questions?... Call us anytime!
Division of Five Cedars
Division of Five Cedars
Pinecone Decorated Box
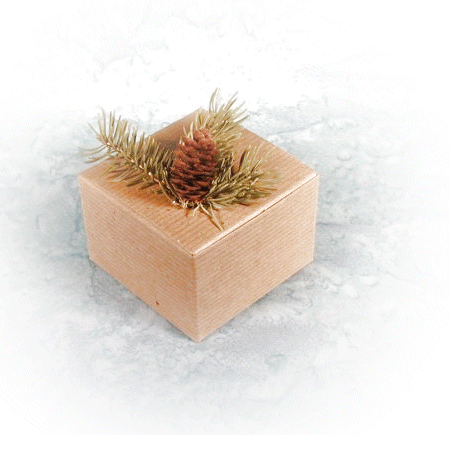 You will need a pair of sharp nipping pliers and a hot glue gun for this box. The materials for this box can be easily found if there are pine trees near by. Just resist the urge to trespass or cut up your neighbors shrubbery.
Make sure the cones and sprigs of pine are clean, dry and free from bugs. If you can't find the pine cones or boughs in the wild they can usually be found in craft stores. Most arts and crafts shops carry a variety of cones both natural and artificial, as well as artificial pine boughs.
Pull the needles from the bottom 1/2 inch of each pine sprig so that the glue will have a place to stick and the cone will have a clear bed.
The artificial cones and pine are not necessarily a bad thing because the natural pine boughs tend to dry out and shed the needles after a few weeks.
The natural pine may only last 3 or 4 weeks so plan ahead.
You will need a pair of sharp nipping pliers and a hot glue gun for this box. The materials for this box can be easily found if there are pine trees near by. Just resist the urge to trespass or cut up your neighbors shrubbery.
Make sure the cones and sprigs of pine are clean, dry and free from bugs. If you can't find the pine cones or boughs in the wild they can usually be found in craft stores. Most arts and crafts shops carry a variety of cones both natural and artificial, as well as artificial pine boughs.
Pull the needles from the bottom 1/2 inch of each pine sprig so that the glue will have a place to stick and the cone will have a clear bed.
The artificial cones and pine are not necessarily a bad thing because the natural pine boughs tend to dry out and shed the needles after a few weeks.
The natural pine may only last 3 or 4 weeks so plan ahead.
Get Started
- Arrange your materials and tools on a clear well lit work area and plug in your glue gun.
- Take up a pine sprig with one hand and apply the glue in a small strip along the bottom 1/2 inch.
- Quickly press the sprig onto the box top and hold it in place while the glue cools.
- Repeat the operation for the remaining 2 sprigs and finish all the boxes be fore moving on.
- Using your snips cut a few of the cone lobes from one side of a pine cone so that it will lay rather flat.
- Align the cone on top of the box, covering the intersection of the boughs, and note the points where contact is made .
- Apply glue the the points of contact and press the cone over the pine sprigs.
- Continue the operation until all the boxes are completed then go back and check for loose parts.
- Use a spot of hot glue to tighten up any loose items.
The pine cones can be gathered far in advance as they keep for a long time, and you can note the location of the pine so when the time comes the pine can be gathered at the last minute.
For an added touch you could put a few drops of pine or balsam fragrance oil on the cones just before the event.
Transport them in one layer and be careful not to break the cones off. Bring the hot glue gun to the venue to make on the spot repairs to any damaged boxes.
