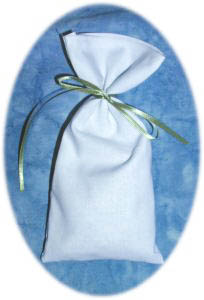
Making Potpourri Sachets
In the past we offered embroidered sachets for sale on the site.
We have decided to stop selling them and offer these instruction on how to make them yourself.
Making the sachet bags is not too difficult if you have basic sewing skills, or perhaps you know someone one who does.
These directions are for a plain bag which you could fill with scented potpourri, candy, or other small items.
You could also fill the bags with bird seed to be used as a wedding toss.
The guests can toss the seed and keep the bag as a remembrance of the day.
Give the bags inside zip lock bags as some people may be sensitive to different potpourri.
Make a tag listing the ingredients with a computer and print it out on card stock.
Tool needed: A sewing machine and scissors or a rotary cutter.
Materials include: White or natural muslin fabric. Any other cotton fabric may be used.
Thread for the sewing machine.
Tulle for the inside bag.
Ribbon or yarn to tie bag closed.
Potpourri to fill the bags.
How to make Potpourri Sachets.
1. Each bag starts with an 8" square of fabric.
Measure the fabric and cut it to size with the scissors or rotary cutter.
Use the iron to remove wrinkles and seams.
Ironing will make the whole process easier.
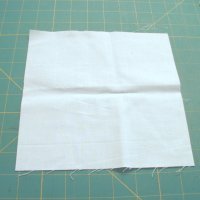
2. You will need a seam on the top of the bag.
Take any side and fold about 1/4 inch of fabric over on its self along the whole side.
Run an iron along the folded section forming a crease which will help hold the fabric in place while you sew it. If you are skillful enough you can skip the pressing.
Optional:
If you are very skilled you can make a double fold, then sew the seam. Using the double fold will hide all raw fabric edges.
Sew about 1/8" from the top of the bag.
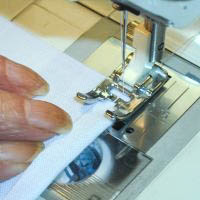
3. The bag is sewn inside out. The seamed side is going to be the top or open part of the bag.
To prepare for forming the bag lay the fabric on a table with the seam on top or away from you and the raw edges down, and not visible.. You should be viewing the nice clean side with only the stitches showing. If you can see the raw fabric edged you have it upside down. Next fold this piece in half by bringing the left hand edge over to the right hand edge.
You now should have a piece of fabric about 7-3/4" high by 4" wide.
Sew a seam down one side and along the bottom, leaving about 1/4" of raw edge. Leave the top open.
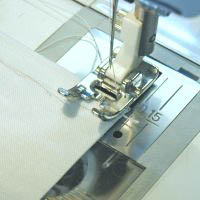
4. Turn the bag right side out which will be the finished side out. Use a fid or a butter knife to get the corners turned out and crisp. You should have a bag about 7-3/4 by 4".
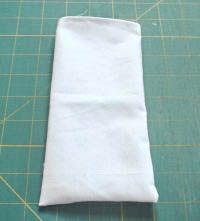
5. Turn the bag right side out which will be the finished side out. Use a fid or a butter knife to get the corners turned out and crisp. You should have a bag about 7-3/4 by 4".
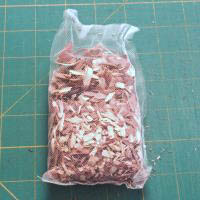
Here is the finished bag.
• This is plain and that's fine if you want it that way but it is easy to decorate the bag.
• If you have access to a sewing matching that will embroider you could add a design before the bag is made.
• Cut pieces of fabric to shapes or find fabric which has designs you like. Cut the designs out and use iron on tape to stick the pieces of fabric to the bag.
• You could also use one of the iron on product designed to be printed with an ink jet printer. You choose or make up a design, print it and iron the design onto the bag.
• Use rubber stamps and fabric paint to decorate the bags to math your wedding theme.
